
Reviewed · WORKSHOPS
Art Class: Oil painting, Water color, Acrylic painting on Canvas or cotton paper
Paint your own Milan memory in 2.5 hours. What makes this class fun is the step-by-step guidance that takes you from sketching to finished details, no matter which medium you choose. I also like the small group size, which keeps the teaching personal, and I appreciate that it’s designed for beginners too. One possible drawback: the session is only about 2 hours 30 minutes, so you’ll want to stay focused on the instructions and not overthink every brushstroke.
You’ll work on canvas or cotton paper, based on the technique—acrylic starts on canvas, watercolor uses cotton paper, and oil is done on canvas. If you’re trying watercolor for the first time, the lesson is set up in a way that helps you build color intensity with layers rather than forcing perfection all at once.
You’ll meet at Via Privata Bernabò Visconti, 1 in Milan, and the class is offered in English with a mobile ticket. It’s near public transportation, and service animals are allowed, which makes the logistics easier than you’d expect for a hands-on art activity.
In This Review
- Key things to know before you go
- Atelier Azzurro Milano: what the experience feels like
- Choosing acrylic, watercolor, or oil (and why your choice matters)
- Acrylic: forgiving and fast to work with
- Watercolor: light is a planning tool
- Oil: controlled mixing and highlight timing
- How the lesson flows: sketching, background, then details
- Step 1: the pencil sketch does more than outline
- Step 2: start with the background
- Step 3: work toward the top elements
- What you might create in your 2 hours 30 minutes
- Acrylic outcome
- Watercolor outcome
- Oil outcome
- Instruction quality: the big plus for first-timers
- Group size, timing, and the real logistics that matter
- Getting there: Via Privata Bernabò Visconti, 1
- Price and value: what you get for about $132
- Who should book this class (and who might want to think twice)
- FAQ
- What mediums are offered in the Milan art class?
- How long is the art class?
- Is the class taught in English?
- What is the group size limit?
- Where do we meet?
- Is there a mobile ticket?
- Is this experience refundable?
- Should you book it?
Key things to know before you go
- Pick your technique: acrylic on canvas, watercolor on cotton paper, or oil on canvas
- Sketch first, paint second: pencil mapping comes before color work in every medium
- Background to details: the workflow pushes you from big shapes toward the final highlights
- Layering helps watercolor: strength and intensity come from multiple paint layers
- Small group teaching: a maximum of 10 travelers keeps the instruction close
- Take-home result: you finish a piece you can keep as a trip memory
A few more we would happily send a friend to in Milan
- Milan: Pasta and Tiramisu Cooking Class with Wine★ 4.8 · 1,106 reviews
- Gnocchi, Pasta, Tiramisù and Wine Class★ 5.0 · 691 reviews
- Milan: Pasta and Tiramisu Small Group Cooking Class with Wine★ 5.0 · 660 reviews
Atelier Azzurro Milano: what the experience feels like
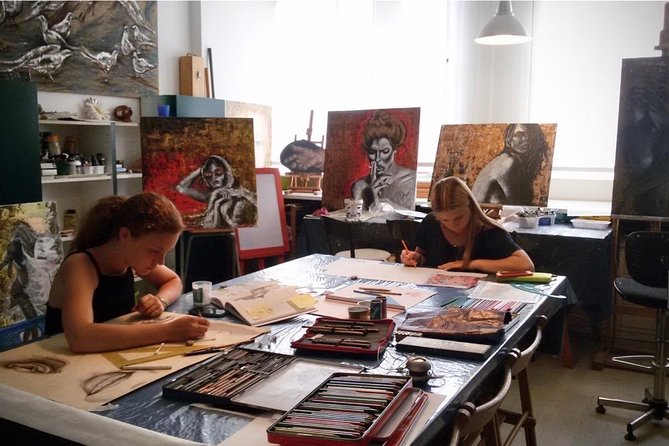
This class is run by Art Classes – Atelier Azzurro Milano, and it’s built around real skill practice, not just watching someone paint. You’ll be guided through a full mini-process: sketching, planning light areas, then applying paint in the right order.
The group size matters here. With up to 10 people, you’re not stuck waiting your turn while everyone else paints. The teaching style also seems to include a lot of direct help when you need it, which is especially helpful if you’ve never touched watercolor or oil before.
You’ll also get a practical format: it’s 2 hours 30 minutes, and the instruction is designed around that time window. That means you shouldn’t expect a slow, open-ended studio session. Instead, you’ll follow a sequence with clear “next steps,” which keeps first-timers from getting lost.
Choosing acrylic, watercolor, or oil (and why your choice matters)
Before you start painting, you’ll follow the setup for the medium you’re using. The class covers all three techniques—acrylic, watercolor, and oil—with different rules for how light and color behave.
Acrylic: forgiving and fast to work with
Acrylic is sketched on canvas with a pencil first. Then you place acrylic colors starting with the background, and you build shades by lightening or darkening using a flat brush. Later you switch to liner work for details, and you save black and white for the end.
What I like about this approach for a beginner is the logic. Acrylic can feel “immediate,” but the class keeps you from jumping straight to details. You start with the big shapes, then you earn the fine work.
- Milan: Cathedral and Duomo’s Terraces Entrance Ticket
★ 4.6 · 61,054 reviews - From Milan: Como Private Boat, Bellagio and Lugano Day Trip
★ 4.8 · 6,271 reviews - Milan: City Sightseeing Hop-On Hop-Off Bus with Audio Guide
★ 4.0 · 6,256 reviews - Milan: Milan Cathedral Direct Entrance – Terrace Excluded
★ 4.5 · 5,782 reviews - Milan: Guided Walking Tour & Last Supper Visit with Ticket
★ 4.7 · 5,409 reviews
Watercolor: light is a planning tool
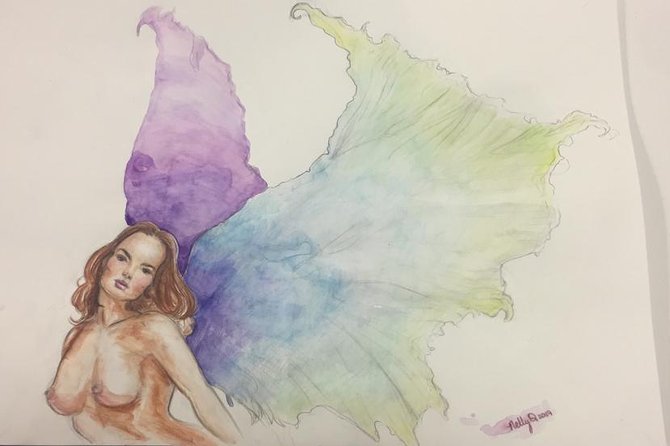
Watercolor begins on cotton paper. You sketch your subject and mark the light spots first, then you wet the paper in areas while leaving those light spots dry. Colors are applied in four or five shades, and they’re meant to mix while the paper is wet.
Then comes a key idea: details are done at the last moment, when the paper is dry. Finally, the pencil sketch is erased so the paper white shows through.
This is the medium where the “rules” help you. If you want a clean result without fighting the paint, watercolor’s method—wet, mix, layer, then detail—does that job.
Oil: controlled mixing and highlight timing
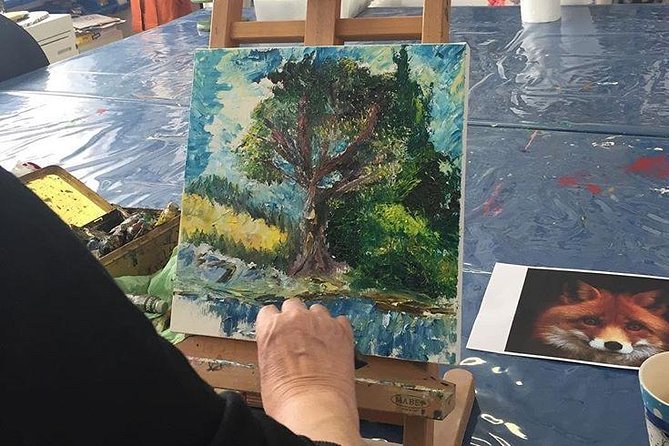
Oil starts with a pencil sketch on canvas. Then you choose oil colors and prepare them on a palette. You mix directly on the canvas, and the paint is spread using a brush or spatula.
The lesson follows a familiar order: start with the background, then add the top elements last. Light touches with white happen at the end, which is a smart way to keep highlights from looking muddy.
Oil can intimidate first-timers, but the class workflow is structured. You’re not left alone with the medium—you’re given an order that makes the process feel manageable.
How the lesson flows: sketching, background, then details
Across all three techniques, the class uses a similar backbone: sketch first, paint the big areas, then finish with controlled detail.
Step 1: the pencil sketch does more than outline
Your pencil sketch isn’t just a drawing guide. It’s part of the painting strategy—especially for watercolor, where the light spots are treated like “areas to protect.” For acrylic and oil, the sketch helps you plan composition so the background can go down first.
In practical terms, it means you’re building an image plan before any paint touches the surface. That reduces the chance you’ll panic later when details don’t match the shapes underneath.
Step 2: start with the background
In acrylic and oil, you begin with the background using flat brush work and larger color placement. In watercolor, the equivalent is wetting the paper and laying down several shades while the paint can blend naturally.
This order is worth taking seriously. Background first prevents the common beginner mistake: trying to add detail too early, then having to cover it when you adjust the rest of the image.
Step 3: work toward the top elements
Acrylic uses a shift from flat shaping to detail tools (including liner) as you move toward finished elements. Watercolor uses layers to increase intensity, then reserves detail work for when the paper is dry. Oil follows the classic “background to top elements” approach, then adds highlights at the end with white.
If you’re the type who wants to jump ahead, this structure is a lifesaver. It forces the sequence that makes your painting look intentional instead of accidental.
What you might create in your 2 hours 30 minutes
You’ll be painting a subject of your choice within the class format, and the instruction is tailored to the medium’s workflow. One strong theme from the experience is that it can produce a recognizable image even when it’s your first time, including a city-building style subject with watercolor.
So if you’re thinking: I want something that feels like Milan, not a random abstract—this class supports that idea. The steps emphasize composition and value (light vs darker areas), which is what makes an image read as a place rather than just colored blobs.
Acrylic outcome
With acrylic, you can end with strong shapes and clean detail. Because you save black and white for the end, you can use them to sharpen edges and create contrast at the last stage. That’s a great way to make your painting look finished even within a short class.
Watercolor outcome
With watercolor, the most satisfying results come from using layers and letting the paper do its job. When you erase the pencil sketch at the end, you get that crisp effect where the paper white pops through—something beginners often don’t expect, but it’s exactly how watercolor is supposed to work.
Oil outcome
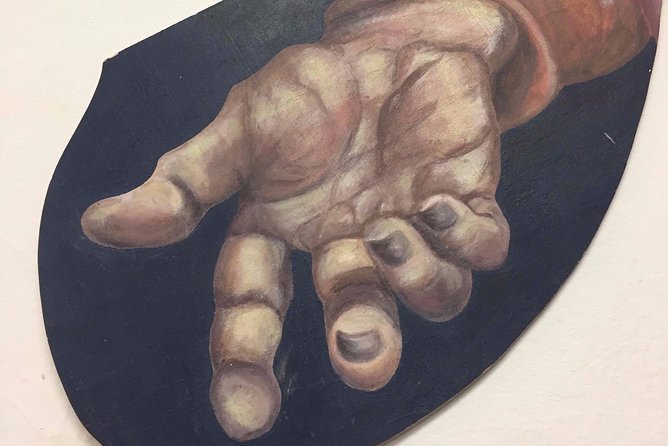
Oil tends to create depth through the process of mixing and spreading paint. Starting with the background and placing highlights with white near the end is a clear path toward a painting that has a sense of light and separation.
Instruction quality: the big plus for first-timers
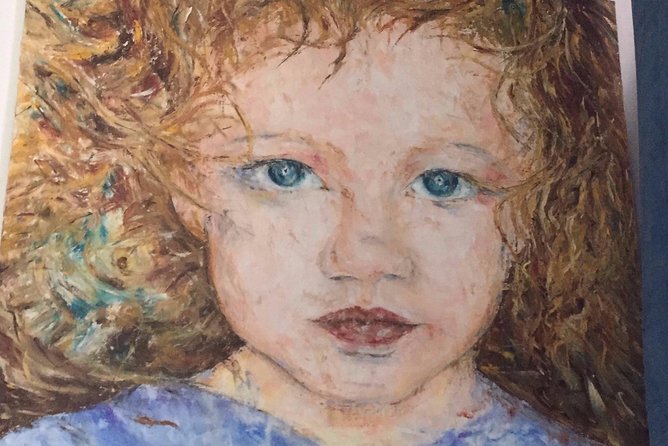
The standout element here is how well the class supports beginners. Even if you’ve never used watercolor, acrylic, or oil, the lesson is arranged so you learn the medium through the sequence itself.
The instruction style is hands-on, with the instructor spending time with participants. That’s especially valuable because painting isn’t like a museum walk. You can’t guess what to do next from vibes—you need guidance at the moments that matter, like when to add light or when to switch tools.
Also, the teaching stays practical. Instead of vague “make it better,” you’re given clear actions: sketch, wet, apply a limited range of shades, add details when dry, or use black and white last.
Group size, timing, and the real logistics that matter
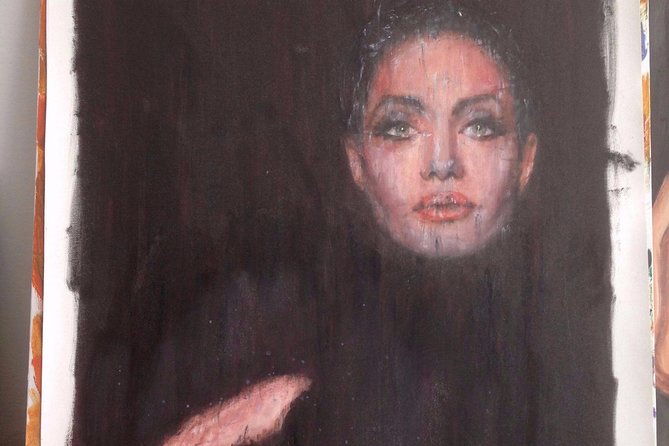
This activity caps at 10 travelers, and that affects everything. You’ll have a quieter, more controlled workspace. You’re also more likely to get individual attention without long waits.
Timing is tight by design. With 2 hours 30 minutes, you’ll want to be ready to paint right away once you arrive. Plan to arrive a few minutes early so you can settle in and start with the pencil sketch without stress.
You’ll get a mobile ticket, and the class is offered in English. Confirmation is received at the time of booking. It’s also near public transportation, so you won’t have to build a complex route just to get to the studio area.
Service animals are allowed, which is a helpful detail if you travel with one. For most people, this kind of art class is approachable, since the methods are taught step-by-step.
Getting there: Via Privata Bernabò Visconti, 1
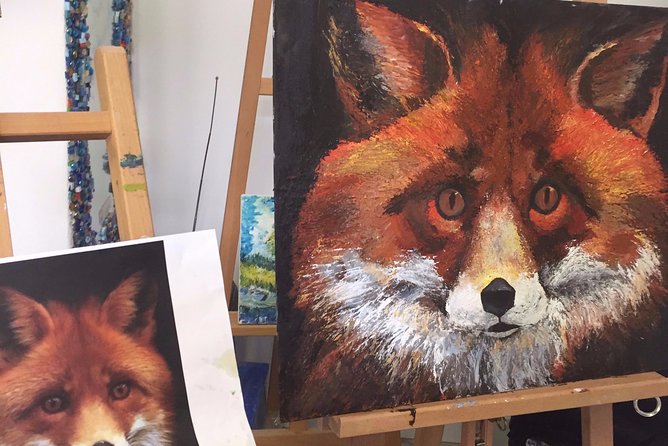
Your meeting point is Via Privata Bernabò Visconti, 1, 20153 Milano MI, Italy. The good news is that it’s described as near public transportation, so you can plan for an easy transit option rather than needing a car.
If you’re coming from central Milan, give yourself a little buffer time. Studios and small local streets can be easier to miss than major landmarks. Arrive early, find the exact spot, and then focus on the class rather than the route.
The activity ends back at the meeting point. That’s convenient because you don’t have to figure out a second location after you finish.
Price and value: what you get for about $132
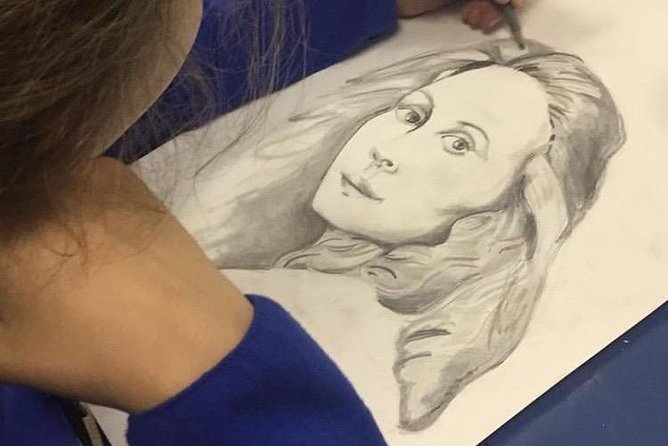
The price is $132.45 per person for about 2 hours 30 minutes, in an English-taught group limited to 10 people.
For value, I’d look at three things the format supports:
- You get real instruction across a full process, not a short demo.
- You work in a specific medium (acrylic, watercolor, or oil) using the correct workflow for that material.
- You leave with your finished painting, which turns the experience into a tangible memory rather than just a photo.
That take-home result is important. If you’re doing Milan sightseeing, it’s easy to spend a day collecting views. This is a day where you create something you can keep, and that can feel worth it even when art supplies or long studio sessions would normally cost more.
Who should book this class (and who might want to think twice)
This is a great choice if you want a hands-on Milan activity that doesn’t require artistic experience. If you’ve ever watched watercolor videos and thought, I’d love to try that, this class is set up for you to learn the sequence.
It also suits travelers who like structure. Each medium has a clear plan: background first, then details, with the timing of light and white managed at the end.
You might think twice if you’re expecting a free-form art session where you can go slowly and experiment endlessly. The class is time-limited, and the method relies on doing steps in the right order—especially for watercolor layers that need drying time.
FAQ
What mediums are offered in the Milan art class?
The class covers oil painting, watercolor, and acrylic painting on canvas or cotton paper.
How long is the art class?
It runs for about 2 hours 30 minutes.
Is the class taught in English?
Yes, it is offered in English.
What is the group size limit?
The class has a maximum of 10 travelers.
Where do we meet?
You meet at Via Privata Bernabò Visconti, 1, 20153 Milano MI, Italy. The activity ends back at the meeting point.
Is there a mobile ticket?
Yes, the class includes a mobile ticket.
Is this experience refundable?
No. The experience is non-refundable and cannot be changed for any reason.
Should you book it?
Yes, if you want a Milan experience that’s creative, structured, and genuinely doable for beginners. The combination of small group size, English instruction, and a clear medium-specific process (sketch, background, then details) makes it a strong value at this price.
Skip it only if you need an unstructured studio vibe or you can’t commit to the step-by-step timing. If you’re ready to follow directions and enjoy the moment when your painting starts looking like a place, this is the kind of class that turns a trip memory into something you can hang at home.
More Workshops in Milan






More Tour Reviews in Milan



Fresh in our Milan notebook





Workshops, compared.
 ★ 4.8Pasta and Tiramisu Cooking Class with WineFrom $611,106 reviews
 ★ 5.0Gnocchi, Pasta, Tiramisù and Wine ClassFrom $83691 reviews
 ★ 5.0Pasta and Tiramisu Small Group Cooking Class with WineFrom $83660 reviews
 ★ 5.0Milan Cooking Class: Authentic Pizza & Gelato MakingFrom $78582 reviews
 ★ 4.7Italian Cooking Class with Food and WineFrom $80509 reviews
 ★ 4.9Fresh Pasta & Tiramisù Class in a Glamorous HomeFrom $88478 reviews
 ★ 5.0Milan Culinary Experience: Pasta & Gelato or Tiramisù ClassFrom $85337 reviews
 ★ 5.0Small Group Cozy Cooking Class in a Typical Milanese Home.From $83302 reviews
Browse the lists this tour appears in